


Must be trend...
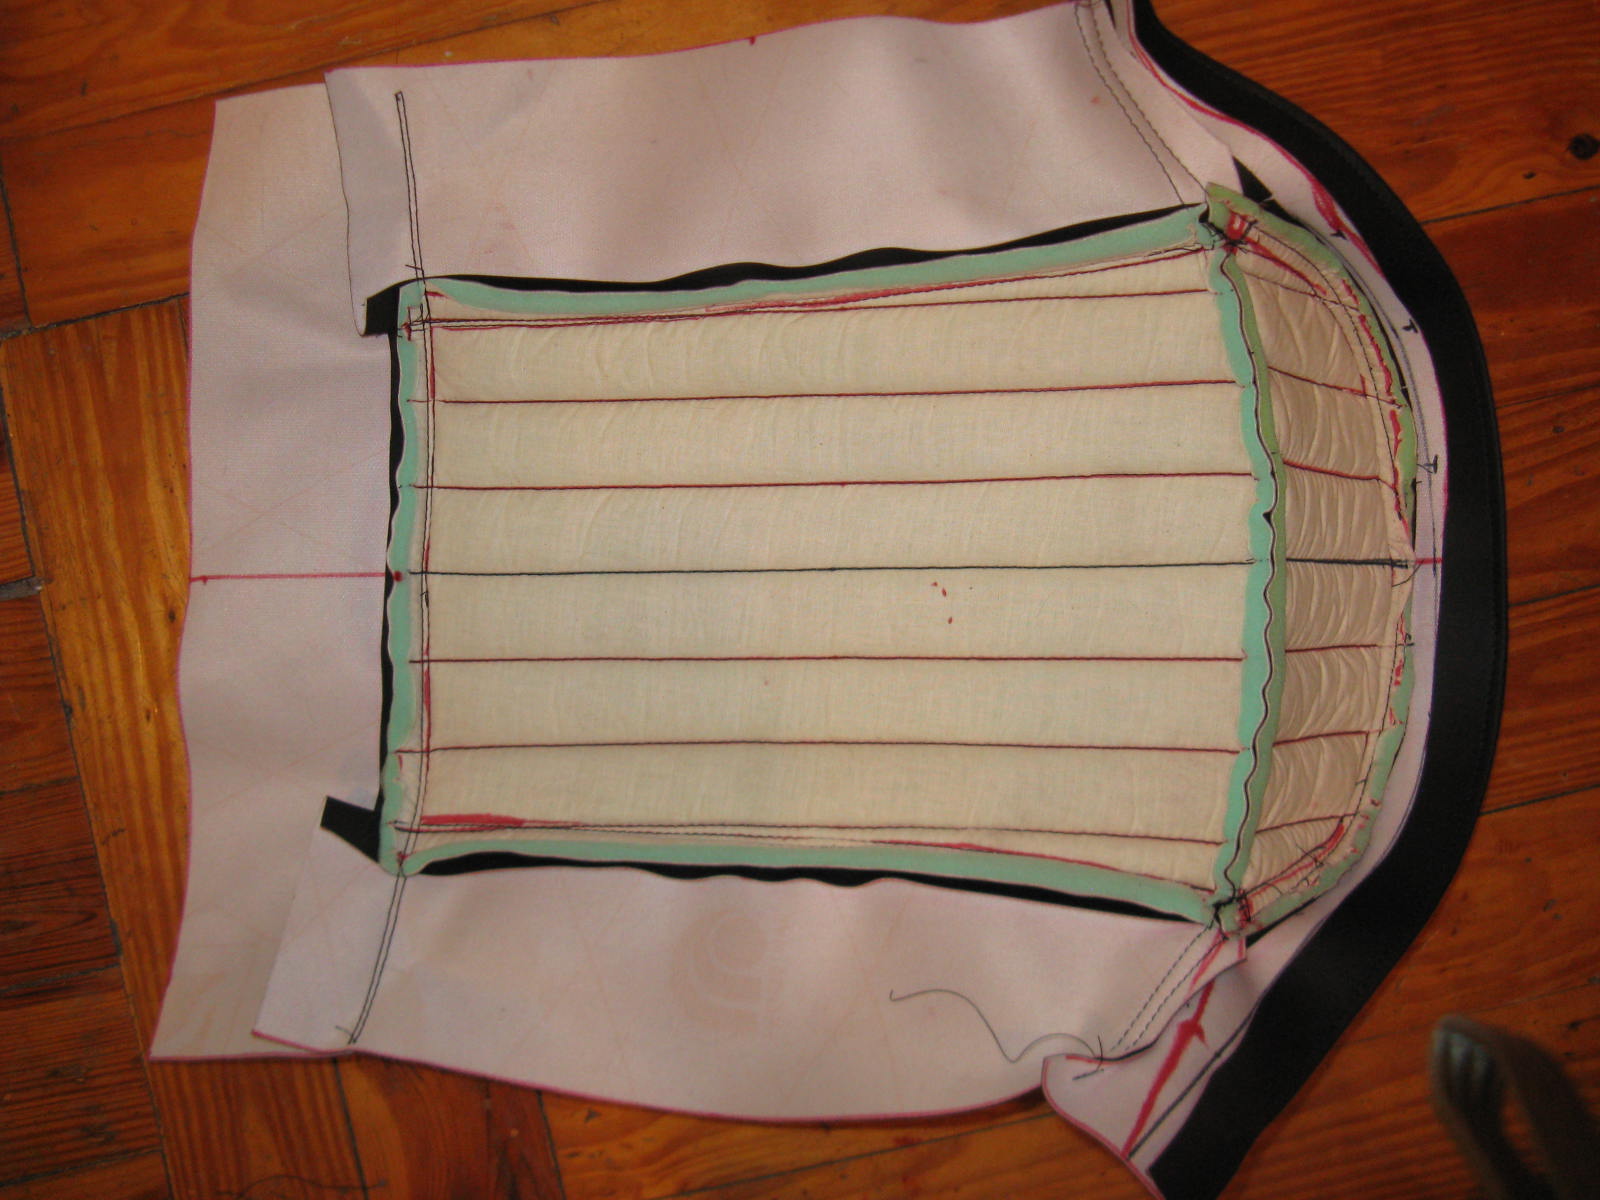
This particular seat/tail piece is paired with a gas tank i did about this time last year... The owner used a hammer to make knee dents on either side of the gas tank and my job was to finish it up. Not enough credit is given to the guy who did this, i don't think. The sides came out very even and equal in just about every way considering his method, so the remaining finish work was minimal to get it to paint. The paint only accentuated how well the plan had come together and he later warned that i might be doing the upholstery and tail section at some point. That point has come. The 1st order of business was to repair some cracks in the fiberglass and prep it for paint. Once that was done, i carefully removed the old upholstery to start making paper templates. The new seat was to have pleats sewn long ways instead of sideways... this means more planning, measuring, and pieces. If i had enough time to stop in between each step i would have a million neat photographs but i wanted to stay on track while i was working. 1st step is to measure and cut the pieces for pleats allowing for seam allowances and pleat shrinkage. Next i adhered that to 1/2'' foam, and adhered muslin material to the bottom of that creating a sandwich the sewing machine can eat thru. Find the centers of everything, measure pleat widths, mark out where you want the pleats to go on the BACK side of the material (in this case the muslin) since top stitching is usually a no no with certain types of materials. Stitch all the pleats, sew the 2 pleated pieces together, then sew in the flat fell seam where they meet. Measure and cut 2 side pieces, a front and a back strap. Stitch on the sides followed by running a flat fell seam to finish them off. Stitch the front piece across all 3 pieces (pleat part and both sides), then run a flat fell seam stitch across the front. The last piece is the hardest since if it's wrong the cover wont fit properly and since its a single piece that joins others in a specific way to work. Stitch the back strap piece on careful to get it to join the 2 side pieces correctly (this is not a straight line although it looks like it when its done), then flat fell the seam across the top. Take the remaining material and fold it under based on measurements of where you want the final lip to be, then sew the seam and your done. Test fit in every step! If you need to back track at some point it's easier to go back 1 step instead of several... this will make you want to kill stuff. Stitching and flat fell seaming thru the foam sandwich is also not that simple, but if you take your time and be careful, you'll be ok. Now I've got the seat cover fitted and held in place with envelope clips... since this cover is made to fit THIS piece, over stretching wont be necessary to mount. You don't really want to have to stretch the material much because that's what happens when you sit on it... so if it's stretched to mount, then sat on, eventually something is going to give. That's not to say the material wont stretch and relax, its just that if you do your math right you wont have to worry about it. Now that the seat fits, i'll paint the tail piece, then mount the cover when it's all done... i'll have finished pictures soon!
No comments:
Post a Comment